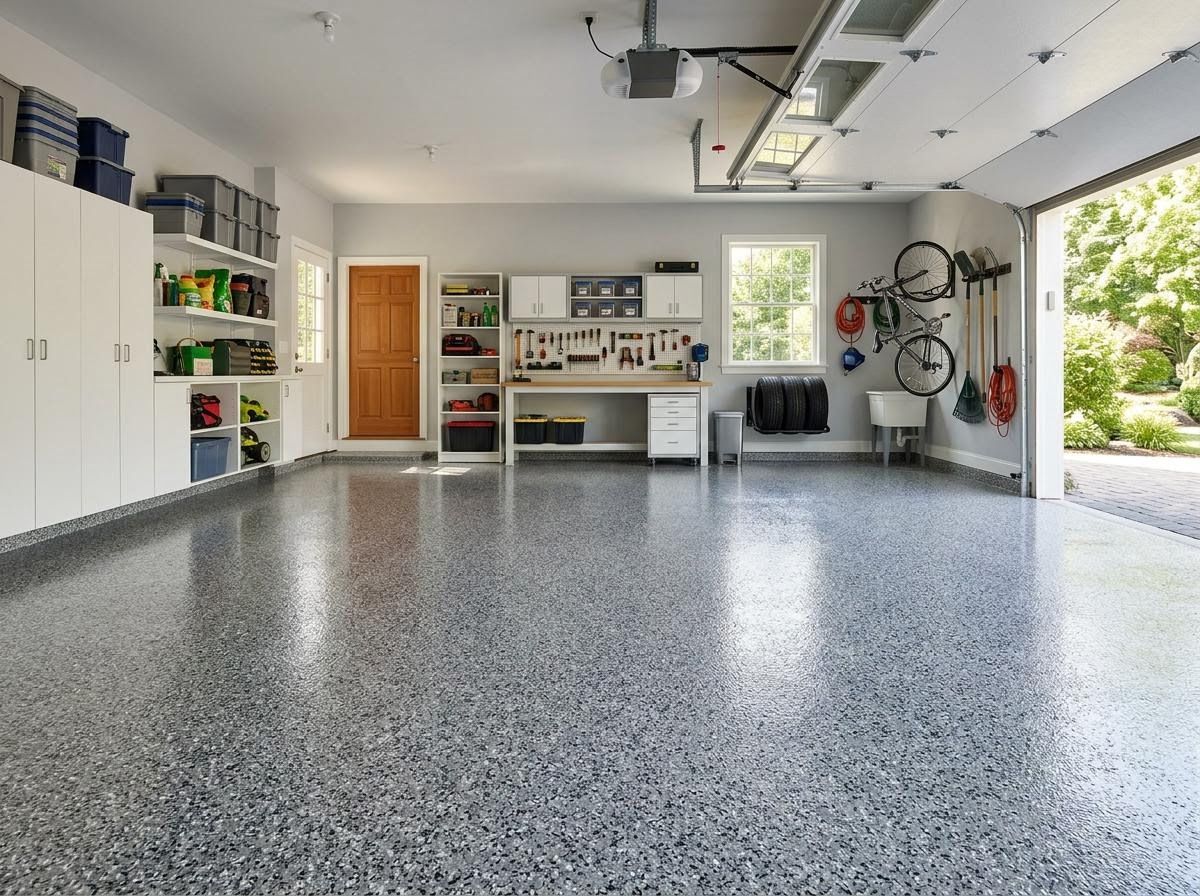
Transforming a plain concrete garage floor into a durable, attractive, and high-performance surface is a significant upgrade for any home or business. High-quality epoxy coatings offer unmatched resilience against stains, chemicals, and heavy vehicle traffic, making them an ideal solution for demanding spaces. Understanding the professional installation process is key to appreciating the quality and longevity of such an investment. At Epic Coatings and Solutions LLC, we believe in complete transparency, guiding our clients through every step to ensure a flawless finish that stands the test of time.
Critical Surface Preparation
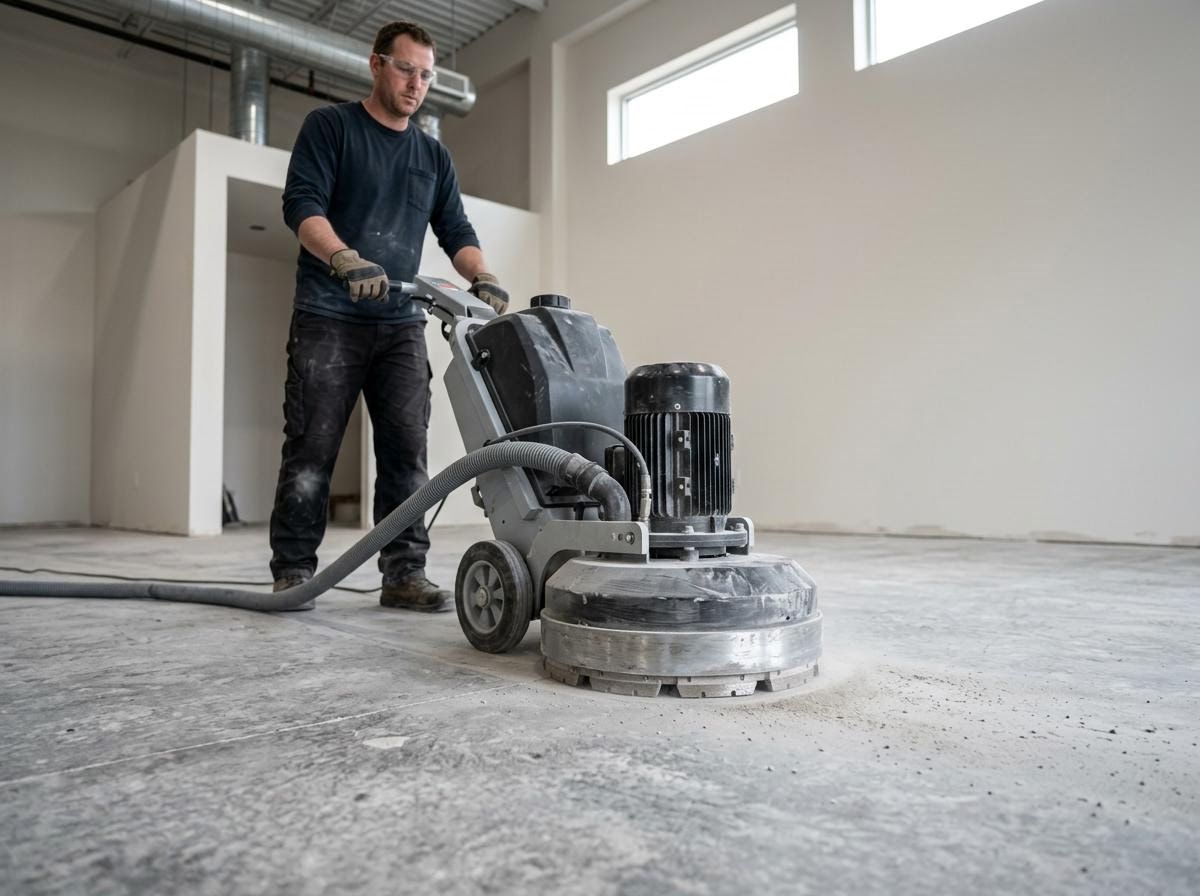
The success and durability of an epoxy floor hinge almost entirely on meticulous surface preparation. This isn't just about cleaning; it involves a series of crucial steps to ensure optimal adhesion. First, the concrete surface must be thoroughly cleaned to remove all dirt, grease, oil, and existing contaminants, often requiring specialized degreasers and pressure washing. Next, any cracks, chips, or imperfections in the concrete are carefully repaired and leveled to create a smooth, even substrate. Finally, and most importantly, the concrete is mechanically profiled through diamond grinding. This process opens up the concrete's pores, creating a textured surface that allows the epoxy to bond effectively, preventing future peeling or delamination.
Primer Application and Base Coat
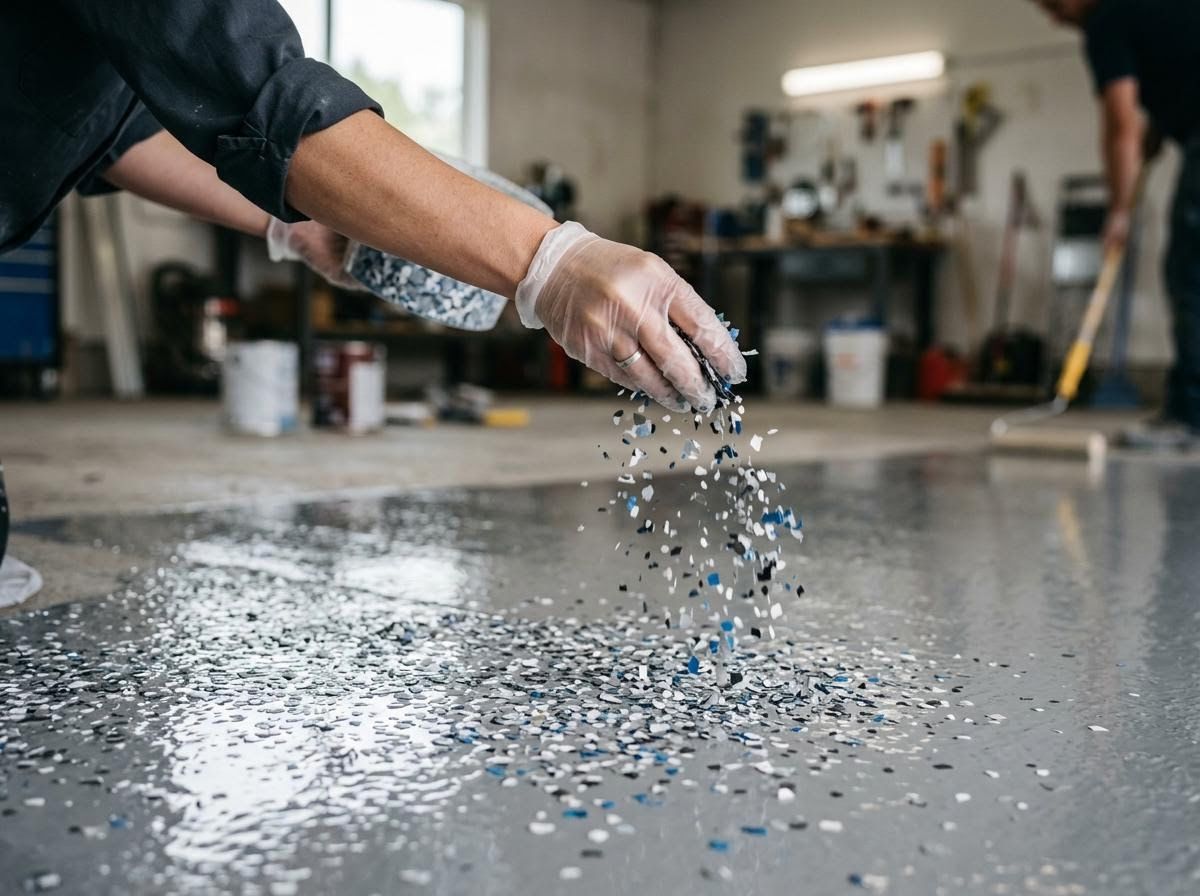
Once the concrete is perfectly prepared, the first layer of epoxy is applied: the primer. The primer serves as a critical bridge between the concrete and subsequent layers, enhancing adhesion while sealing the substrate to prevent outgassing, which can cause unsightly bubbles in the final finish. After the primer cures, the chosen epoxy base coat is applied with precise detail to ensure an even, consistent layer. For homeowners opting for custom decorative flakes, this is the stage where flakes are generously broadcast onto the wet base coat, adhering securely to build color, texture, and inherent slip resistance.
Flake Broadcast and Top Coat Application
If decorative flakes are part of the design, they are broadcast by hand onto the wet base coat until complete coverage is achieved. This step is crucial for both aesthetics and adding an extra layer of durability. Once the base coat and flakes have sufficiently cured, any excess, non-adhered flakes are carefully scraped off and vacuumed away. The final and most protective layer is then applied: a clear, UV-resistant topcoat. This protective layer encapsulates the flakes and provides a resilient, non-porous barrier that guards against abrasions, household chemicals, and impacts, ensuring your garage floor coatings maintain their pristine appearance for years.
Curing and Final Reveal
The installation process culminates with the crucial curing phase. While the floor may feel dry to the touch relatively quickly, the epoxy requires time to fully cross-link and achieve maximum chemical resistance and hardness. Depending on environmental conditions and the specific system used, light foot traffic is typically permissible within 24 to 48 hours. However, heavy vehicle parking usually requires a cure time of several days. Professional installers provide precise guidelines on when the floor can be fully utilized, protecting the long-term integrity of your investment.
Partner with Arden's Epoxy Flooring Experts
Investing in a professional epoxy garage floor transforms a basic concrete space into a resilient, aesthetically pleasing, and easy-to-maintain extension of your home. Led by Lonnie and backed by over 15 years of industry experience, Epic Coatings and Solutions LLC delivers clean, high-impact concrete transformations built to last. We proudly offer an exclusive 10% discount for first responders and military veterans. To learn more about our Arden epoxy and concrete polishing services, contact us today to schedule your free estimate.